HTML/JavaScript


Saturday, July 31, 2010

craft fail...almost (label making)

Yep, I have those moments. I had seen a post by Hilda (she has been so sweet) at handmade therapy for making your own labels. It was one of those hand slapping the forehead things, so simple yet so GENIUS! I've been dragging my feet at starting my etsy shop, and one of the reasons was not having a way to label my products. I thought this would be an awesome solution. I remembered ordering a rubber stamp from VistaPrint back when I got my address labels and business cards (btw, you can often score free products there, although I think their shipping is a little high). The only trouble was that it was one of those self inking stamps, hmm. I brought it up to my hubby and before I even knew it, he was pulling that little sucker apart and "rescued" the rubber stamp part! Wahoo! That meant I didn't have to spend the extra time/money for a new one. My hubby was even more sweet and genius by sticking the stamp back into the handle portion of the stamp, wedging it with shims of all things and securing it with a little glue. I love how handy my man is!

Here is where I get to my "fail". The only matte ribbon I could find at Joann's was grosgrain ribbon. Then, I used WAY too much paint so that my felt was kind of soggy and I just couldn't get the right amount on my stamp. I was afraid that the lettering on my stamp was just too small and I would have to get another one. )= This is how they turned out.*sigh* blurry, patchy...just unusable


I was discouraged, so I went back and read Hilda's post as well as the comments. She mentioned in a comment that she used Bobbin Ribbon from Micheal's (in the scrapbooking section, seen here). They came in pretty small spools, so I picked up both a cream and a white, they were only $.99 each (less if you use a coupon).

Here is a tip for you, I had used a LOT of paint the first time around and didn't want to waste it. My hubby and I have done a lot of painting in our home and he regularly wraps paint brushes/cans/trays in foil to cut off the air and keep the paint from hardening. I used some Glad press 'n seal and stuck my paint in the fridge, several days later it was still usable!

Anyway, back to the crafting. This time I put a second piece of felt over my already saturated piece and tentatively started stamping. This time it WORKED!!! I am so excited to have labels for my products now! I feel like I am one step closer.


Can you see how he used the shims to secure the stamp?


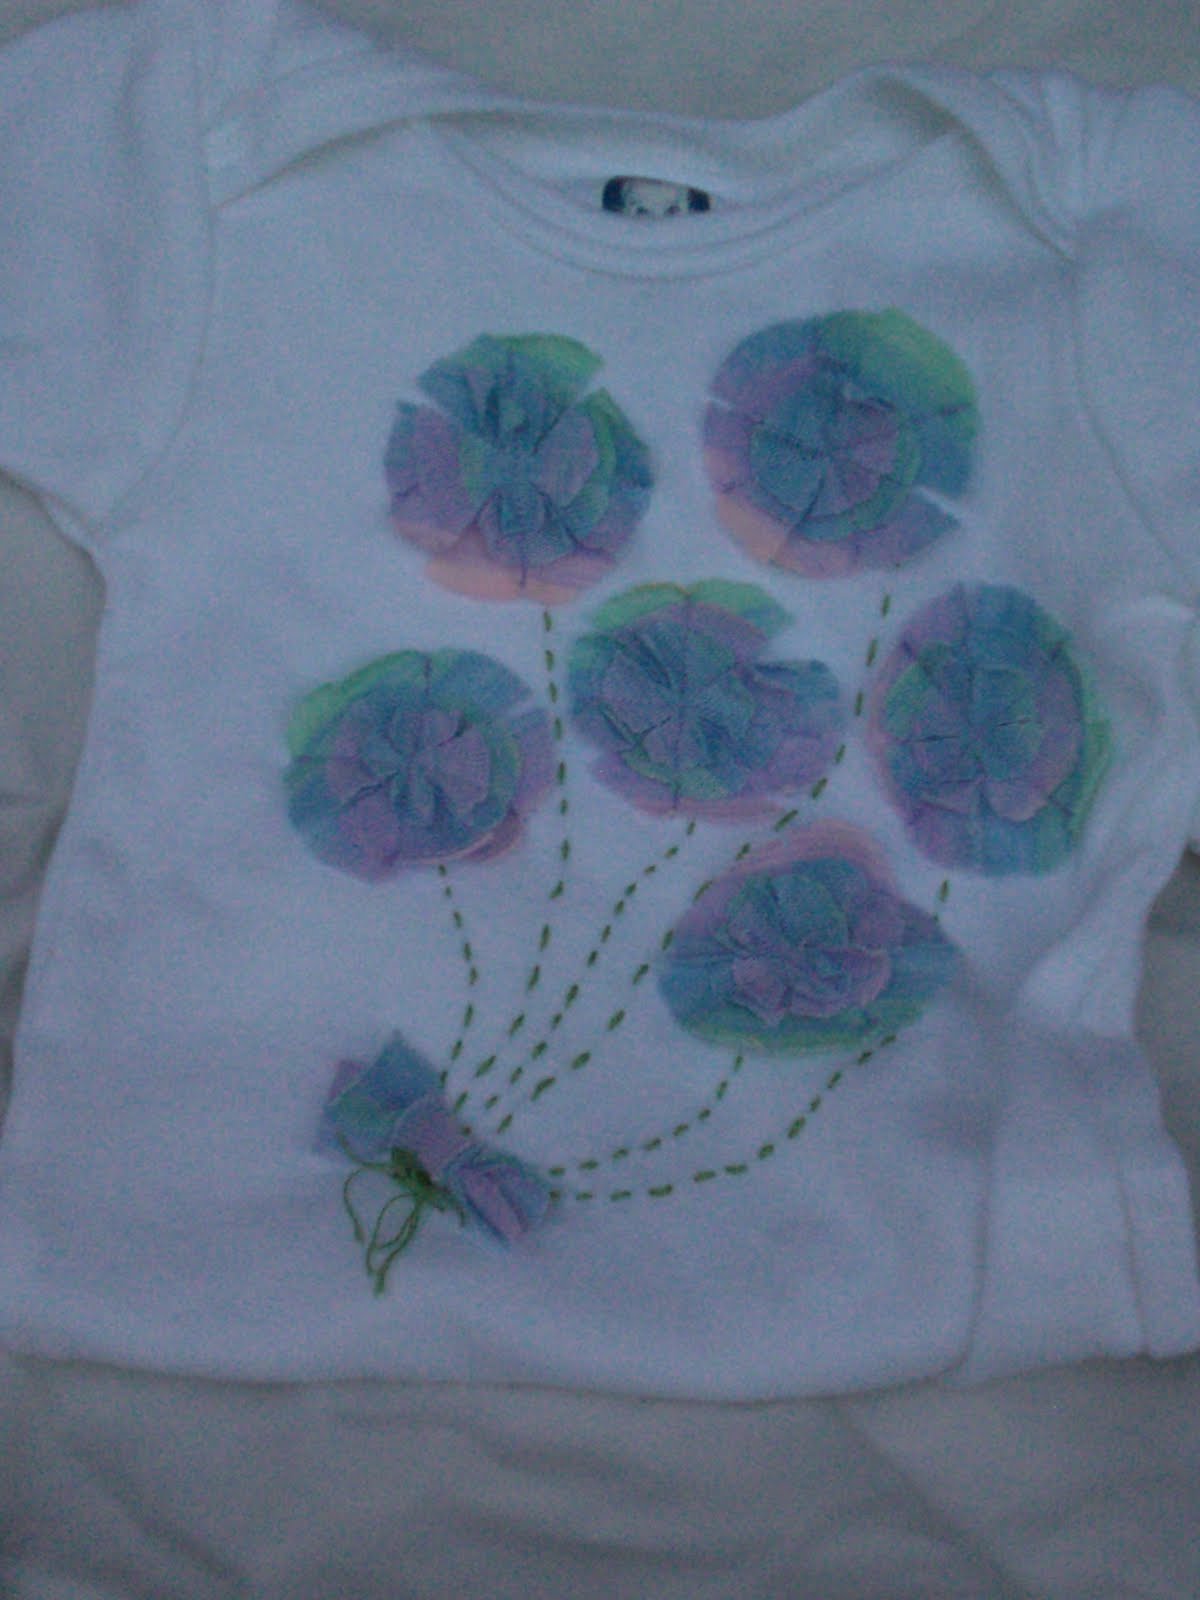
Wahoo! I stitched the labels on my first set of products last night (a super cute matching nursing cape and change n' go)!

Thursday, July 29, 2010

some great craft tips

Check out these great craft tips over at Kari's blog, U-Create.

Oh, and this little show called Project Runway is back on TONIGHT! Wahoo!

Monday, July 26, 2010

flower power

Wahoo! Another fun project for a friend. Flowers out of felt and fabric scraps. She sent me some pictures for inspiration and here is what I came up with. I think she is using them for scrapbooking, but I think may make some extras for my front door wreath (because she let me keep the extras, yay!). I think they would also be super cute to wear, on a headband, clip, purse or even a funky necklace.

Here is what I came up with.


It was pretty simple, cutting out and layering flower shapes, sewing down with contrasting thread. The possibilities are endless!

linking up here:
Show and Tell Green


Saturday, July 24, 2010

order up

Lately I have been up to my eyeballs in orders and sewing projects for friends. A nice stretch of my creativity. First up, curtain panels out of a flat bed sheet. Flat sheets are actually great to use as curtains. You can find some cute prints, usually cheaper than you could buy that yardage at a fabric store. In my case, I turned one flat sheet into 4 panels, but it could easily be a no sew project if you use the top/wide hem at the top as the rod panel.

These are going to look so cute in a little girl's bedroom (they certainly go nicely with my daughter's pale purple walls).


This mama just had a new baby, she had ordered this nursing cape, so I wanted to make something that went with it. I made a couple of burp cloths, similar to these, but I drafted my own pattern (bigger!) and added a panel of matching fabric on the flannel side. So soft and cozy.


Fun stuff!

Thursday, July 22, 2010

Change N Go, an awesome new diaper clutch!

Whew, I've been promising this unveil for a while, hope it is worth the wait. My problem once again is picturing taking and editing, sigh. This was the other part of my baby shower gift package.

Nursing cape


peek-a-boo baby!


Ok, now it is time for a flash back. Do you remember this that I made last Christmas? She had asked me about making a different closure, so this is what I came up with. A velcroed strap, with a little elastic to allow it to stretch to fit more diapers. I wanted to keep the softness of the ribbon, so I stitched some pleated ribbon on the closure. I swear she is my product tester for everything!


Now check out this set! Wouldn't you love a matching pair in your diaper bag? This is Sunshine Baby's nursing cape (right), and soon to be listed, change n go diaper clutch (left, front)!


I'm SO excited about this! Do you think people would guess this is to change a dirty bum?

Unfold and lay it out to change baby, the pockets are currently holding a pack of 40 wipes and 3 size 4 Huggies diapers. You'll never walk away without your changing pad again!


Tada! I have one more to "practice" on before listing them.

Wednesday, July 14, 2010

baby gifts

Did you know that Joann's sells those packs of white Gerber onesies (don't forget your coupons)? Talk about blank slate to let inspiration roll! I may have mentioned that my brother and his wife are having a little girl. Their baby shower (sadly STATES, many miles, away) was last night and these were part of the gift package that I sent.

I had SO MUCH FUN with these!


For this one I bought a pack of paper doilies from the Dollar Store (I have TONS left over), cut it into different size pieces, laid them on the onesie and then used fabric paint over the doily. I thought the pattern looked very nautical, almost like rope. I tie some little bows in matching blue grosgrain ribbon and hand stitched one at the neck and then several on the bum (LOVE it!). I also had some white cord and used the same ribbon to make a little headband.


This one has been in my head ever since I did this tutorial. I'm SO glad I finally had an excuse to do this! I used this crazy rainbow printed knit and just cut out the colors I liked, but it left some fun shading. Then I tried my hand at a little embroidery flossing. I didn't get a picture of the little clip I did for this one because I literally was blowing the glue dry as I was wrapping the packages. lol


I found a little iron on initial (the baby's name starts with "O") for this one. By way, my new favorite way to initially attach an applique is with spray adhesive, thank you Adventures in Dressmaking! The headband has a bunch of different sized hearts layered on top of each other.


Another blue one for you! My friends tease me, but I LOVE putting girls in colors you don't expect. I took a lot of tips from this tutorial for the "necklace" and then some tulle and ribbon for the flower. I made a larger version of the same flower for the little clip. Once again, I LOVE adding something fun on the bum!


Here is a little tip, if you have lots of cute baby clips but your sweet baby is a baldy (like mine was), just attach the clips to a plain headband!

linking up here:
Show and Tell Green


Sunday, July 11, 2010

hanging ribbon organizer

Yippee! I love easy solutions like this! This was my box o' ribbons. I cringe a little just looking at it.


There was just no way to keep them neat and organized in a box. Last week, my hubby and I did some weeding out of things in our basement. In the pile to go to the attic, I spotted this (technically a pants hanger).


A light bulb went off in my head! I snatched it, and one night last week while watching So You Think You Can Dance, I got organized!


It was so simple! Just string all of your spools in the same direction (you want the ribbon to roll over the top of the spool). I even put on the few gift wrap ribbons I had. The long ribbons without spools I loosely looped/knotted on the bottom and then the smaller scraps I put in a ziplock bag, punched a hole under the seal and strung it on the hanger. Yay for a little more organization!

Friday, July 9, 2010

Sewing 101

I often see questions from people asking for the basics of sewing. I posted several links in the past, but I saw another blog doing an almost 2 week series of
Sewing 101

So far there are posts on:
Tools of the Trade
Supply Must Haves
Selecting Fabrics

I just want to say that the quilt (or is it simply a blanket) she has pictured is absolutely beautiful! I'm not much of a quilt person, but if I were ever to brave quilting, THIS would be the type I'd make. I LOVE it! I don't know that I'd use those colors, but that technique is beautiful. Does anyone know anything about it? Please share!
Using a Rotary Cutter (I got one for Christmas, and I LOVE it!)
Fixing Mistakes


Be sure to check out the blog, and this series through July 16!

Thursday, July 8, 2010

sometimes, I'm brilliant

Maybe a little cocky, but I will let you decide. I used what I had on hand, on the fly, to solve a problem that was driving me cray (and potentially costing me LOTS of money).

Here it is! What do you think?


Tee-hee! I wish I could see your face right now. I'm imagining a nose crinkled up with this thought running through your head, EWW, why is she showing us a dirty diaper? Do you want to know why I am showing you this? Can you imagine how this could possibly be the solution to my problem?

Peek on in there and...tada!


You see! My poor little tomtom did not come with a carrying case. You are not supposed to leave it in the car, between being a major draw for people breaking in and stealing, and our 100+ temperatures it is just not a good idea. I haven't had a chance to make a case, and I just don't want it bouncing around loose in my giant mom bag. That is another recipe for disaster.

So why not a diaper? It is soft and padded, moisture resistant and, if you use the little sticky tabs then it is safe and secure. One more reason to use a (clean, haha) diaper as your gps carrying case, no one, and I mean NO ONE will ever steal it! When is the last time you picked up a wadded up diaper when you didn't know what it contained?

So, what is the verdict? Am I brilliant, or just plain crazy? If you think I'm crazy, I hope I at least gave you a little chuckle with my problem solving skills.

Wednesday, July 7, 2010

on camera

Here is the video that I mentioned in this post a while ago. A friend graciously offered to feature Sunshine Baby Nursing Capes on an up and coming website in the area.

Check out the Homeplexity website, my video is at the bottom, titled "Sarah Wommack". It is really hard for me, but I'm restraining myself from telling you all the things I hate about seeing myself on camera and all of the things I would have done or said differently. It was a last minute thing and unfortunately I didn't have a nursing cape to demonstrate with. Anyway, it is great exposure and I'm thankful for the opportunity.

Sunday, July 4, 2010

sneak peak

Well, I have a confession. My LEAST favorite part of crafting and blogging is the picturing taking and editing. Ugh, that is what takes me SO long to finish! I have been crafting, not blogging as much lately because of that reason. I have to finish up a tutorial for a project that I finished quite some time ago. Here is a sneak peak for you.


Ugh, I really think I need a dress form. It would be so much easier to photograph clothing on an object, rather than trying to set up the timer, run and pose...haha.